
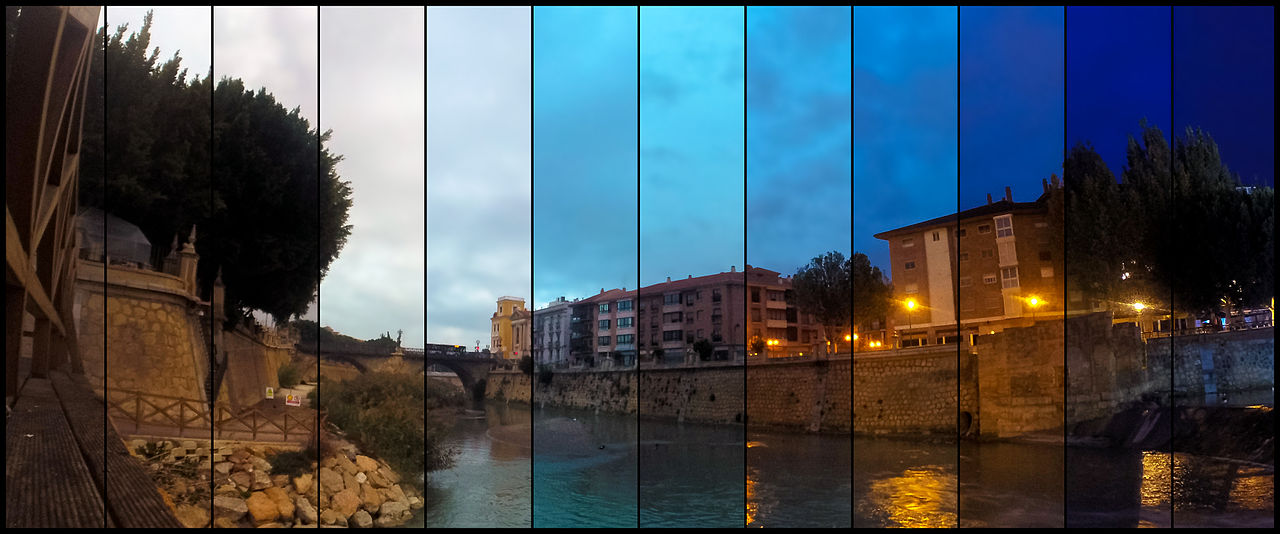
Time lapse photography consists of representing the change in an environment over time in the given period of time when the change took place. It’s basically a fast-forward movie which shows a longer period of time in about 10 to 20 seconds. Time lapse photography is a compilation of a large number of still images into a movie. If you compare it to standard photography, it requires from you to be a lot more knowledgeable and experienced. But, even if you may find it too much at first, it’s something that’s really worth the time spent learning. Here are some things you should know in order to try it out yourself.
Calculate the Frames and Intervals
The first thing that you need to do is calculate how many frames you are going to use for the video. A standard video comprises of 24 fps, which means that you need 24 images in order to create 1 second of video.
After you have figured this out, you need to decide what the interval between every frame will be. The two ways to calculate this are interval based calculation and total time-based calculation. With the former, you determine the interval frames and how long the video will be first, and then you calculate how many frames you will require and the total time it’ll take to shoot. The length of your interval depends on knowing how fast your scene will be moving. Once you know the length of the interval, you can calculate the total time required for a video of your chosen length.
Total time-based calculation works the opposite way. You calculate the interval that is required for the pre-determined length of video. This works well when you have planned how long your video is going to be.
Choose your Shooting Setup
Before you start shooting, you need to acquire the necessary setup. Using a tripod for time lapse photography is a necessity, because you will shoot for hours and the camera needs to stay perfectly still. There are various camera accessories that you can use.
While many cameras today come with built-in interval features, you might have to get a shutter release cable which continuously releases the shutter. It might be a good idea to get yourself an intervalometer. It’s a timer remote controller which you can use to program your camera to shoot at a given time and at a given interval.
Pick your Shooting Mode
The next logical step, after you have set up your interval timer and placed your camera on a tripod, is to choose your shooting mode. Whether you choose Manual or Aperture Priority mode depends on the light conditions in the environment you are shooting.

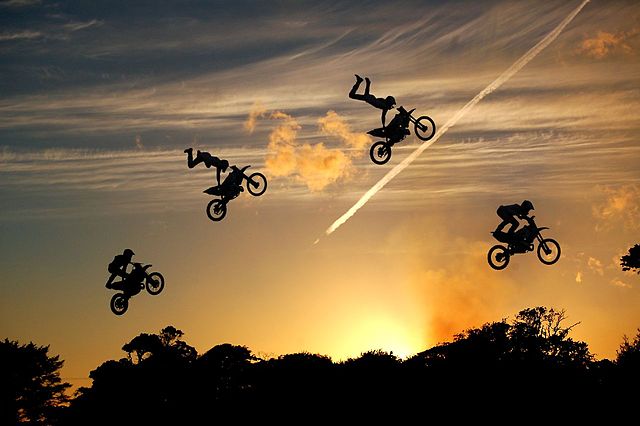
The Manual mode is good for shooting in an environment where the lighting is mostly constant. For example, this works well for shooting morning clouds for a period of time, since lighting won’t change much during the time you shoot. On the other hand, if you are shooting the sunset, the lighting is obviously going to change, so you should opt for the Aperture Priority mode. With this mode, the camera meter picks the proper exposure for every interval during a couple of hours of shooting an even where the light changes rapidly.
Post-processing
After you are done shooting all your frames, it is the time that you put them into a video. This requires you to do some post processing. The suggested software for doing this is Adobe Lightroom and LRTimelapse. LRTimelapse is a plugin for Lightroom which is used to make time lapse videos. What it also does is that it calculates changes in exposure during a sequence, in order to properly balance the light changes.
LRTimelapse comes in both a free and paid version. The free version is able to render a 1080-second video by using up to 400 images, which is a decent amount for most photographers. The paid version is there for higher resolution and more images to use in a sequence.
Post-processing of sequences shot in Manual mode is quite easy, because the exposure is the same throughout. This allows you to edit the first image and then synchronize the rest with it. In case of Aperture Priority mode shots, this is where LRTimelapse kicks in, because you need to calculate the changes in exposure and color temperature.
Export and Be Creative
After you have created your time lapse movie file, you can import it into a video editing program such as Adobe Premiere or Sony Vegas. This is where you can add some enticing music and titles to spice up your final product. You can add various effects, like zoom or pan, to implement motion and underline what’s interesting to see.
Final Words
Time lapse photography is a beautiful way to free yourself from routine and connect with your surroundings. In a way, it’s a method of slowing the world down for you, while speeding it up for others to see. Finally, when diving into the world of time-lapse photography, it is essential that you enjoy it the most you can, and reflect this onto what you create.